


5 common mistakes when installing photovoltaic mounting structures and how to avoid them
The mounting structure is essential for ensuring the stability, safety and durability of a photovoltaic installation. However, even when systems specifically designed and calculated for each application are used, incorrect installation can compromise the final result.
Poor alignment, inadequate fastening or the combination of incompatible components can cause mechanical stress, leaks, deformation or damage to the modules. Some of these problems do not appear immediately, but only after months of exposure to wind, rain and temperature changes.
Below, we examine five common mistakes made when installing photovoltaic mounting structures and the main recommendations for avoiding them.
1 Misaligned profiles and modules
If the profiles are not correctly levelled or aligned, additional mechanical stress and a poor finish may result.
How can this be avoided?
- Mark guide lines before beginning the installation.
- Use a laser level or check the diagonals.
- Regularly check the alignment of the profiles and modules.
- Correct any deviation before continuing with the following rows.
- Avoid forcing the modules or clamps to compensate for a misaligned structure.
2 Incorrectly installed roof fasteners
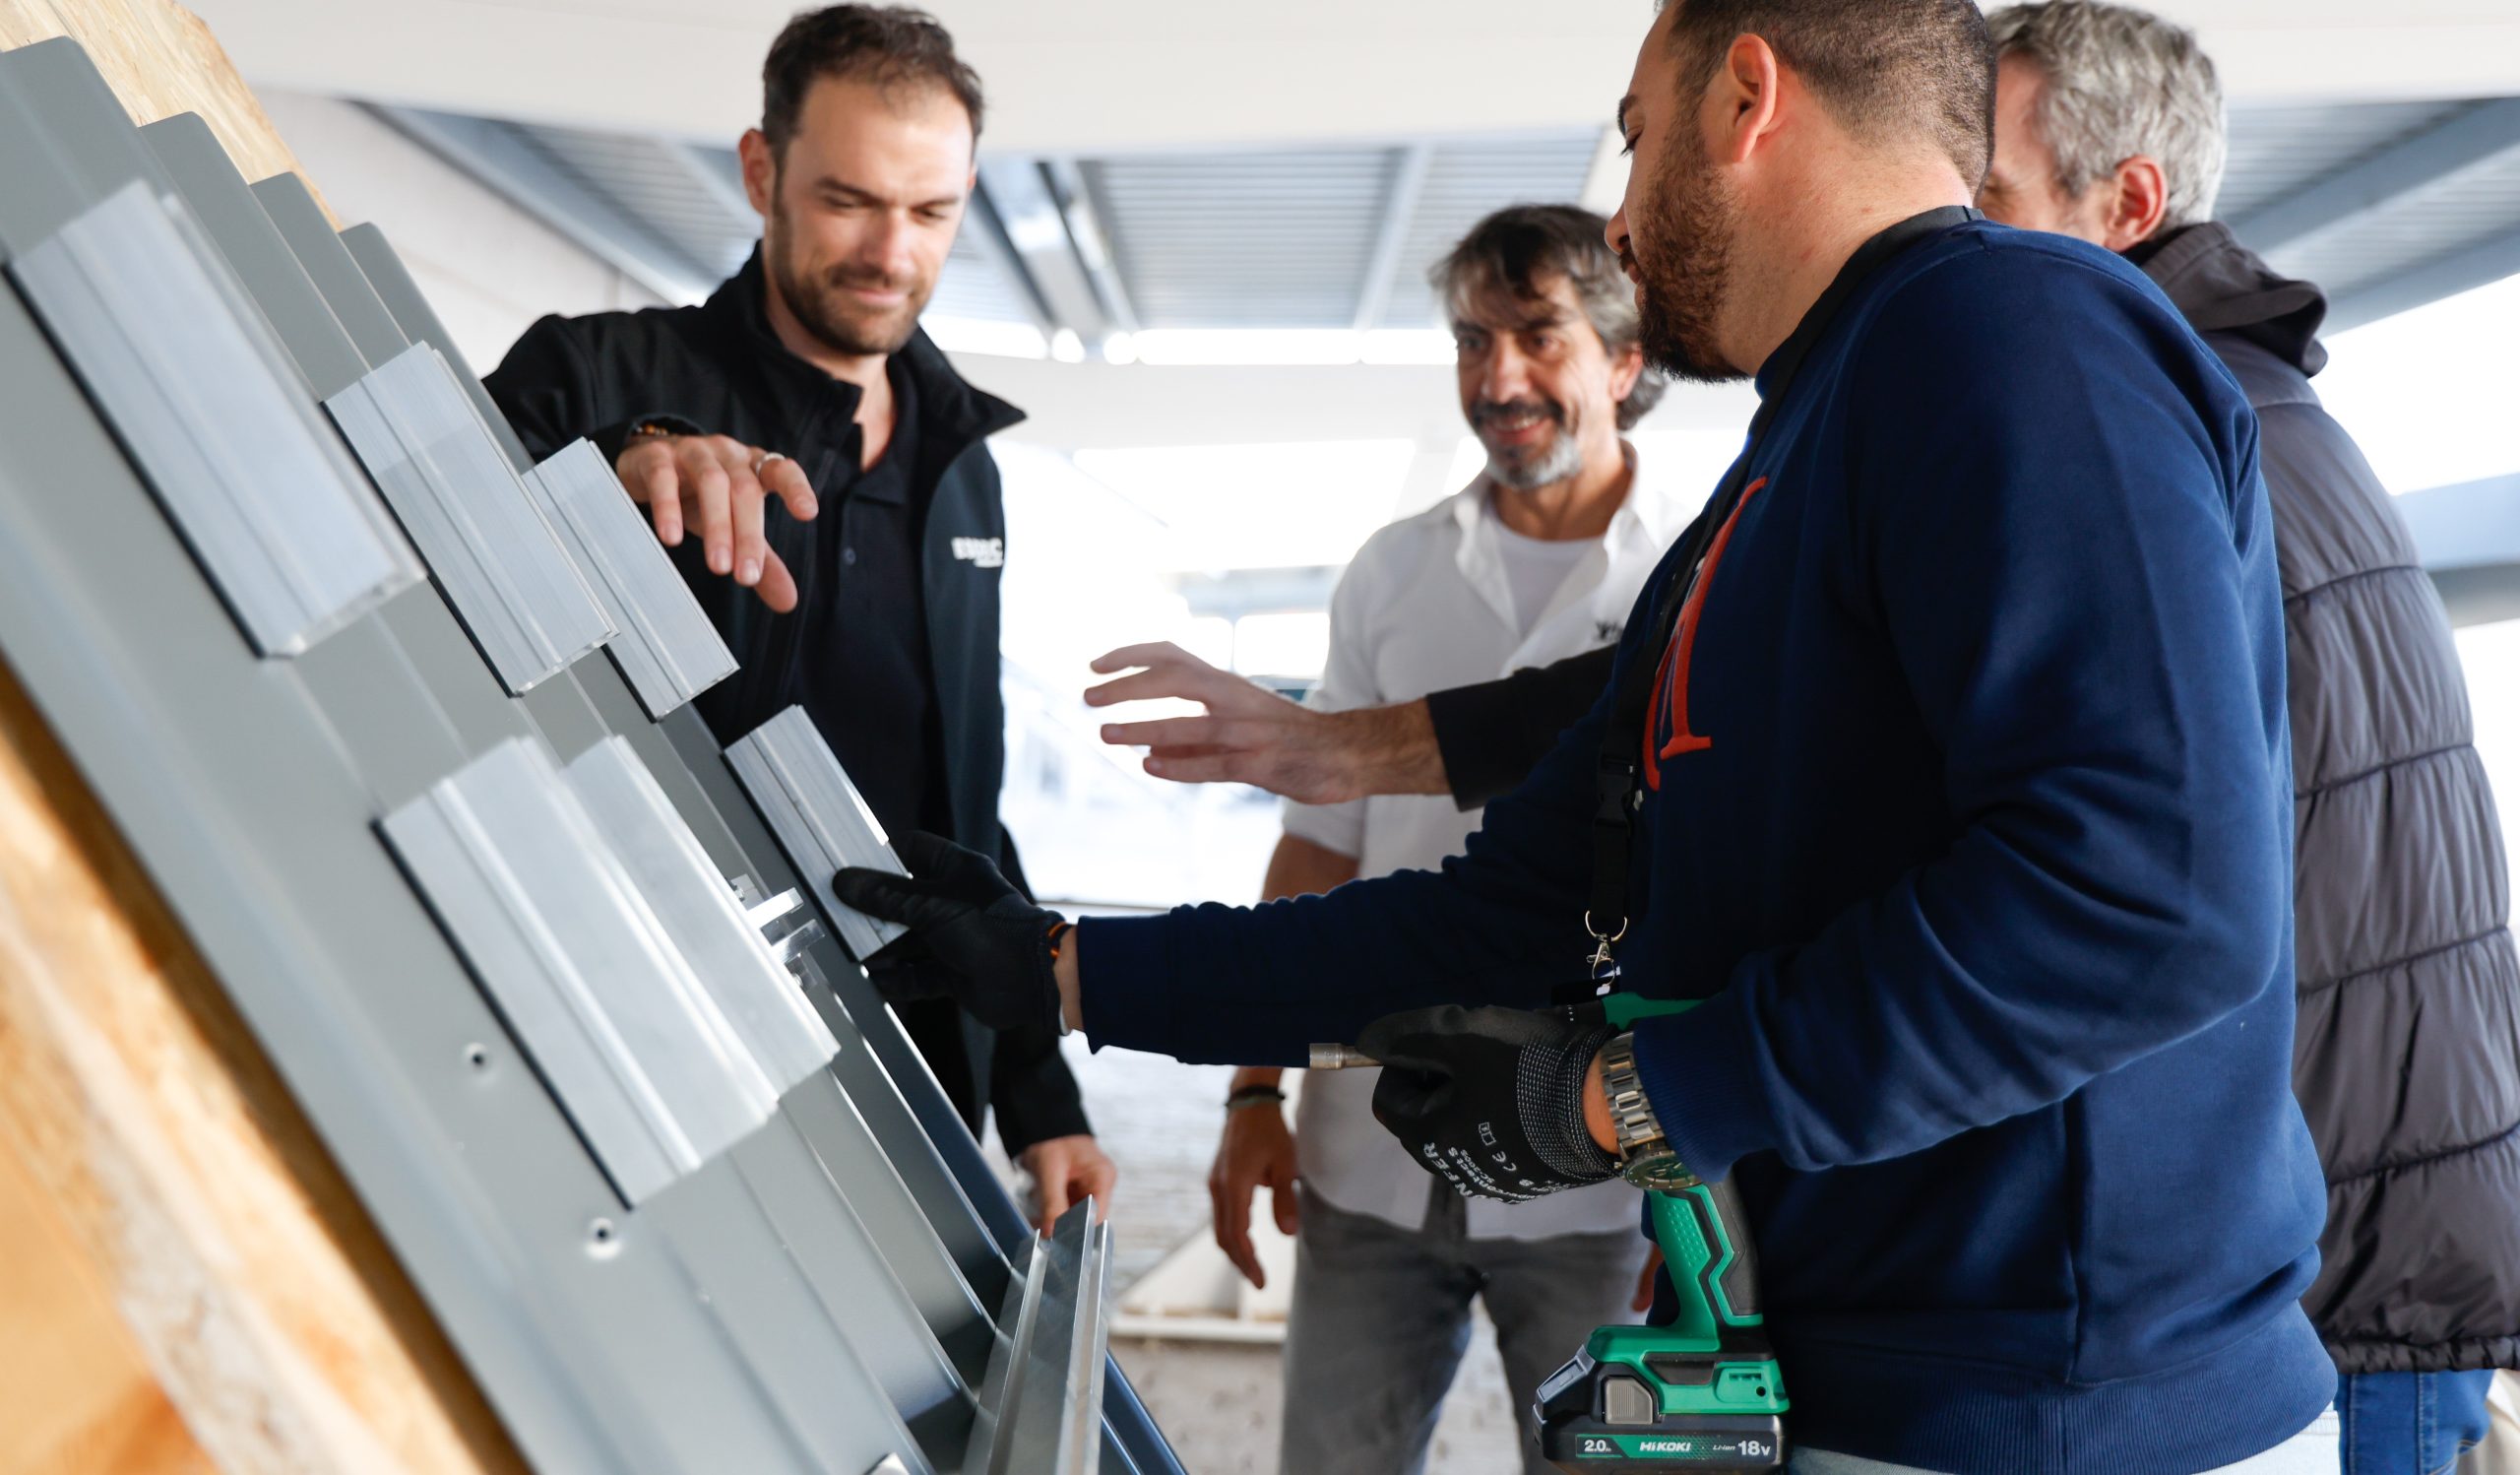
Drilling outside the load-bearing elements of the roof or sealing the fixing points incorrectly can reduce the strength of the anchors and cause water leaks.
Each type of roof requires a specific fastening solution and a preliminary assessment of the points through which the loads will be transferred.
How can this be avoided?
- Correctly identify the purlins, beams and other load-bearing elements before drilling.
- Check the type, material and condition of the roof.
- Use the fasteners specified for each system and application.
- Install the seals and sealing components correctly.
- Inspect the anchors before installing the modules.
- Verify that the supporting surface can withstand the expected loads.
3 Mixing incompatible components
Combining profiles, clamps, screws or connectors from different systems can create mechanical incompatibilities, promote corrosion and compromise the intended performance of the structure.
Furthermore, using unauthorised components or modifying the system may affect the manufacturer’s warranty conditions.
How can this be avoided?
- Use complete, approved systems.
- Check compatibility between profiles, clamps, screws and connectors.
- Follow the manufacturer’s instructions and specified tightening torques.
- Avoid improvised modifications during installation.
- Maintain the traceability of all installed components.
4 Failing to maintain the required clearances
Installing modules without the recommended clearances can restrict thermal expansion, cause contact between frames and complicate inspection, cleaning and maintenance tasks.
The required distances from roof edges and other obstacles must also be maintained, particularly in areas exposed to higher wind loads.
How can this be avoided?
- Maintain the clearances specified in the installation instructions.
- Allow sufficient space for the thermal expansion of profiles and modules.
- Maintain the access routes required for inspection and maintenance.
- Check the distances from edges, parapets and obstacles.
- Correctly install connecting components and expansion joints whenever required.
5 Incorrect distribution of loads and supports
The distance between supports, the position of the fasteners and the permitted deformation limits form part of the structural calculations. Altering this arrangement during installation can cause deformation, localised overloading and damage to the modules, including possible microcracks.
How can this be avoided?
- Maintain the distance between supports specified for the system.
- Maintain the position and number of fasteners defined in the project.
- Check the wind and snow loads applicable to the installation location.
- Do not remove supports or modify the configuration without prior validation.
- Verify that the mounting structure is suitable for the dimensions and characteristics of the module.
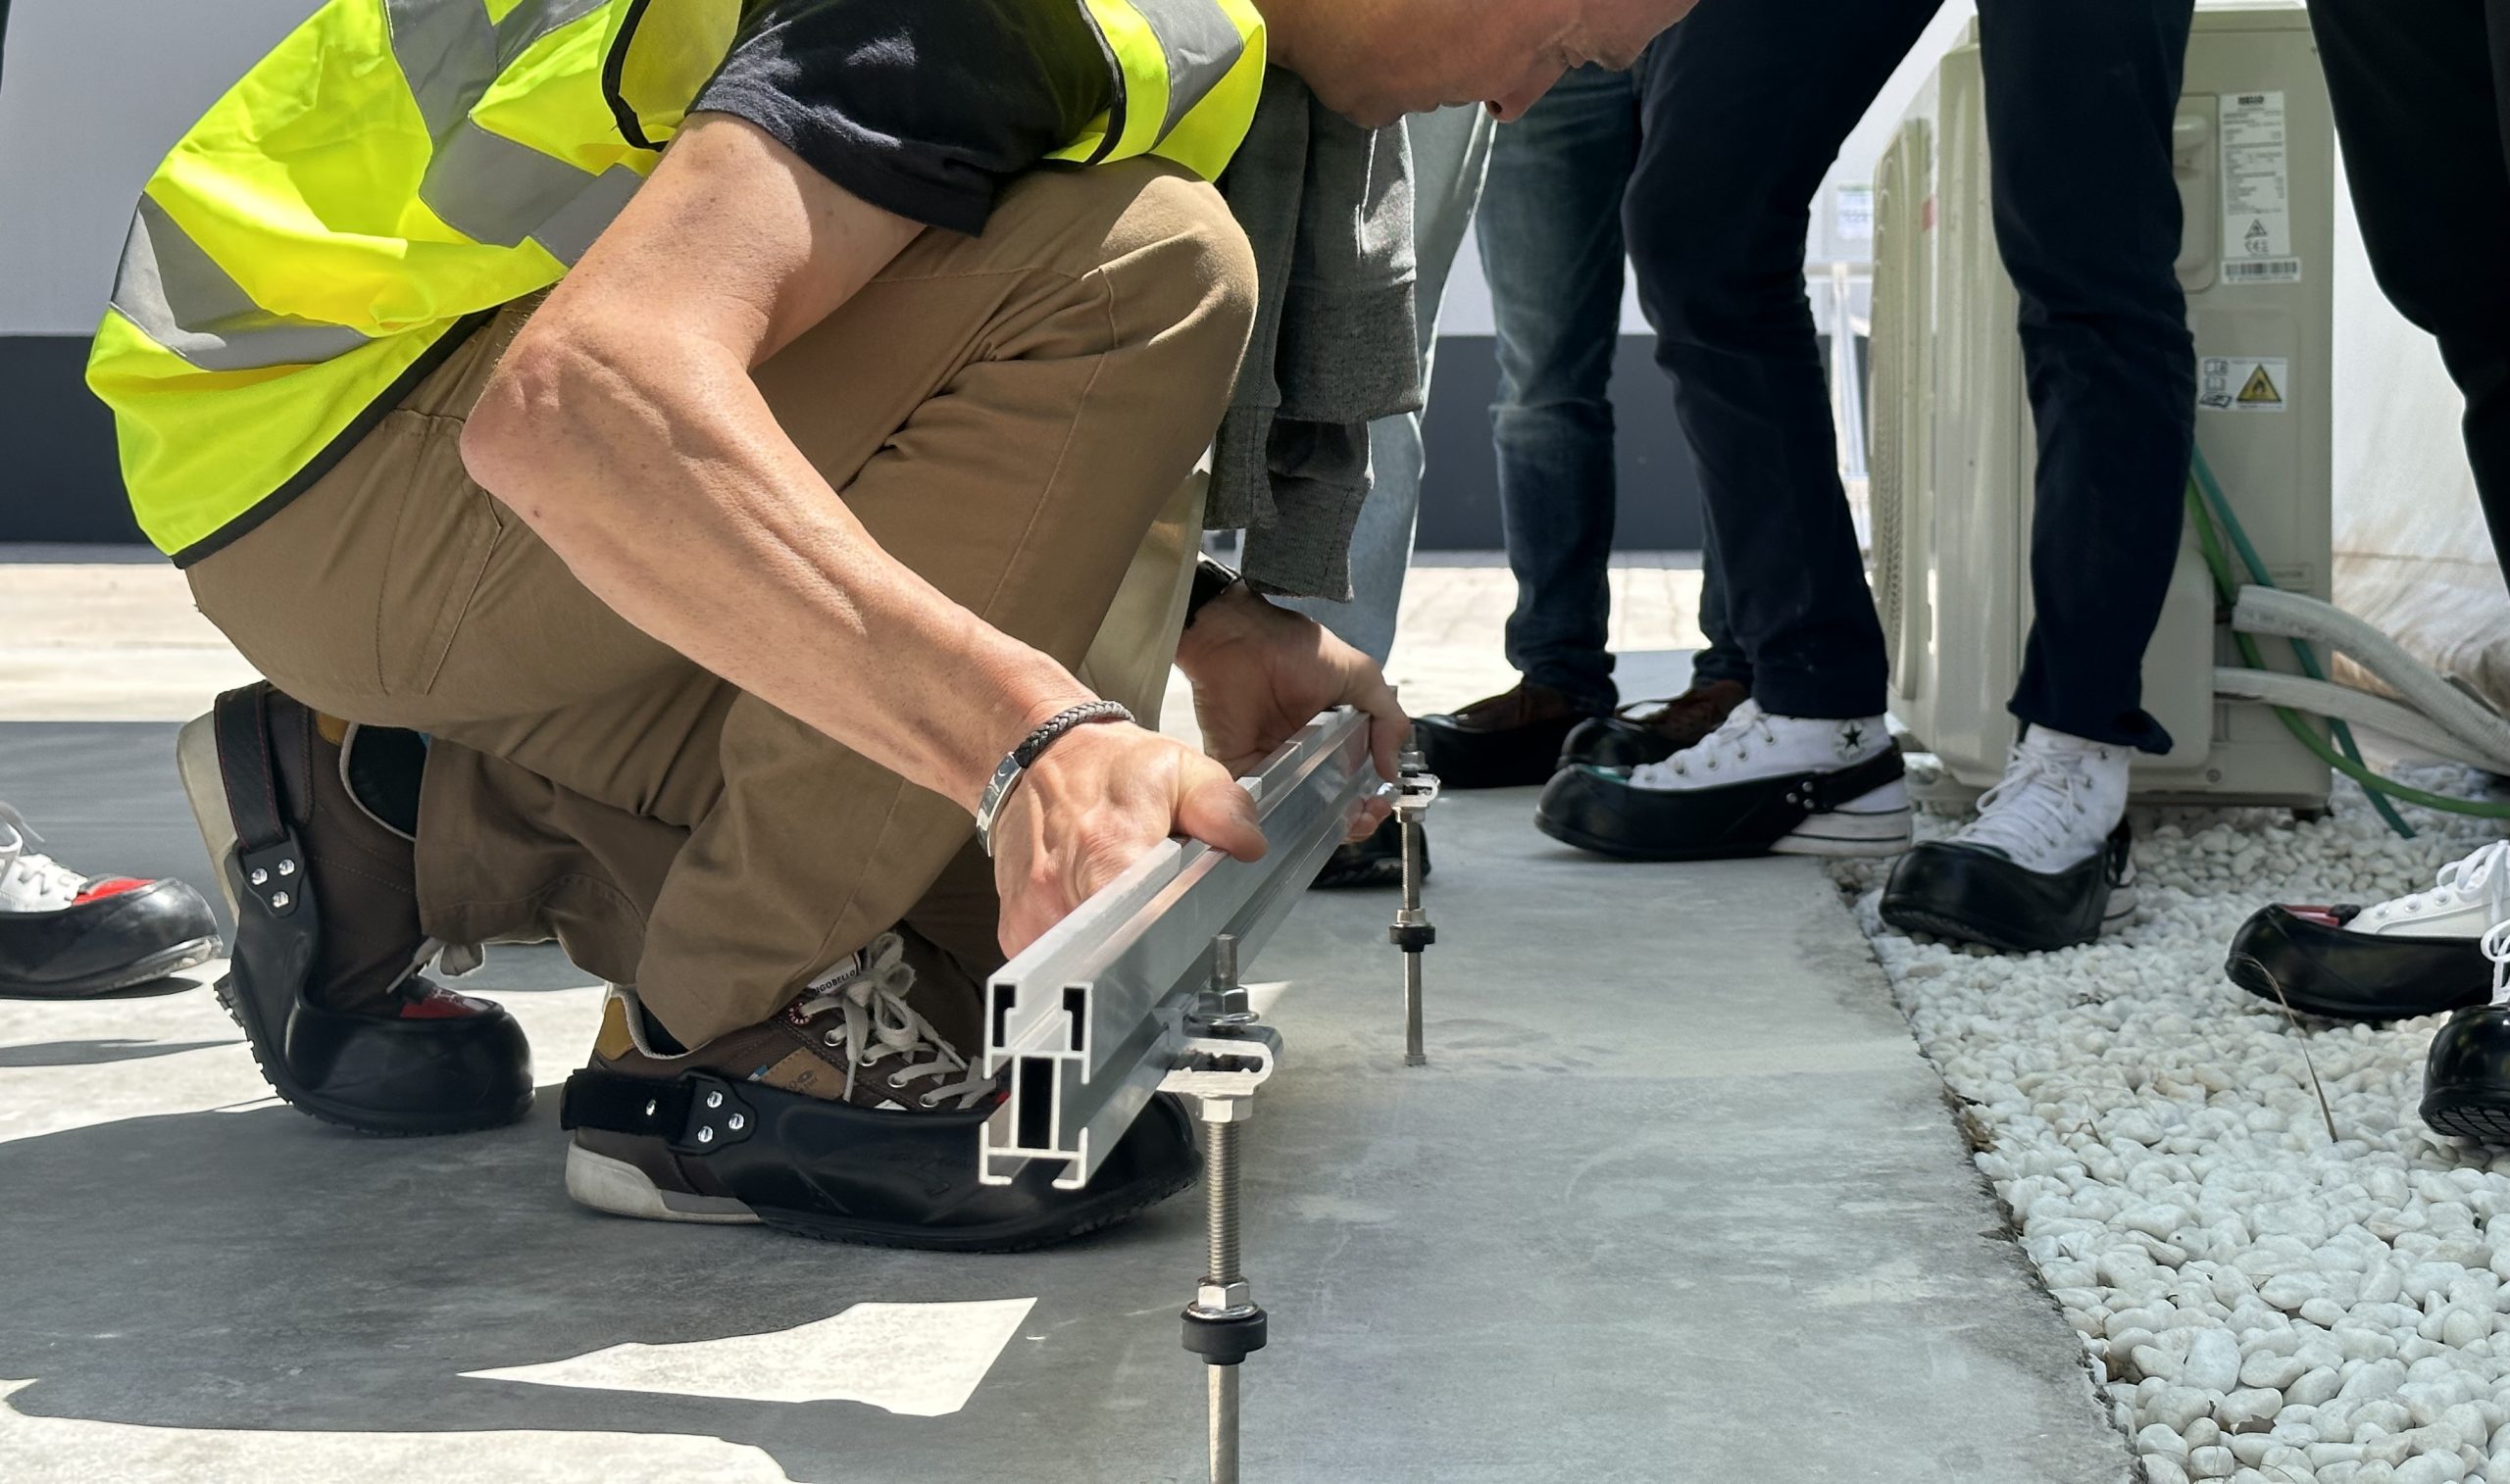
Installation mistakes may become apparent over time
Not all problems are visible immediately after installation. Vibrations, wind, thermal cycles, humidity, corrosion or inadequate maintenance can cause poor workmanship to become apparent several months later.
Reliable installation therefore requires proper planning, suitable tools, compliance with the manufacturer’s instructions and a final inspection of the profiles, fasteners, clamps and tightening torques.
Sunfer photovoltaic mounting structures are designed to provide stability and durability throughout the service life of the installation. To maintain this performance, it is essential to select the correct system and follow the installation procedure specified for each solution.
Configure your photovoltaic mounting structure correctly with Sunfer Key 2.0
Before beginning the installation, you can use Sunfer Key 2.0 to select the most suitable mounting structure for the characteristics of your project.
The tool allows you to define the main parameters of the installation and obtain a report containing the recommended solution, technical information and bill of materials required to prepare your order.
Do you need Sunfer mounting structures for your next photovoltaic project?
Contact the Vico Export Solar Energy team. We will help you review the solution, prepare the bill of materials and arrange the supply for your installation.